


.png)


.png)



Your GPU runs hotter than your coffee, and those mystery-thickness thermal pads you bought on sale aren’t helping. You squish, stack, and guess, then wonder why your frames drop faster than your patience.
Pick the right pad thickness by matching gap size, manufacturer specs, and compression range, then confirm with temperature testing tools and trusted guides like this Tom’s Hardware report.
🔥 Why Thermal Pad Thickness Matters for GPU Cooling Efficiency
Picking the right soft thermal pad thickness helps your GPU run cooler, avoid throttling, and stay stable during gaming or mining workloads.
Correct thickness fills the gap between memory, VRM chips, and the heatsink, giving strong contact without bending the PCB or trapping heat.
1. Contact Pressure and Heat Transfer
Thermal pads work best when they are gently compressed, not crushed. Too thin leaves air gaps; too thick causes bowing or uneven contact.
- Ideal compression: around 20–40% of pad thickness
- Avoid visible PCB bend or warped backplate
- Check temperatures before and after pad changes
2. Avoiding Air Gaps on Memory and VRM
Memory chips and VRMs sit at slightly different heights. Soft pads bridge this uneven surface better than paste or hard shims.
- Use soft pads with good shore hardness (easy to compress)
- Cover the full chip surface, not just the center
- Do not stack many thin pads; use one correct size
3. Balancing Thickness and Thermal Conductivity
Thicker pads add distance for heat to travel, so you should match thickness with higher thermal conductivity when possible.
| Thickness | Typical Use | Notes |
|---|---|---|
| 0.5 mm | Tight, flat gaps | Best temps when fit is perfect |
| 1–1.5 mm | Most GPUs | Good balance of contact and pressure |
| 2 mm | Large gaps | Use soft, higher W/m·K material |
4. When to Choose 0.5, 1, 1.5, or 2 mm
Follow your card’s teardown guides or measure the gap. If unsure, 1.0–1.5 mm soft pads fit many mid to high‑end GPUs.
- Check community guides for your exact GPU model
- Test-fit without peel-off films before final install
- Watch for coil whine or hotspot changes after mods
❄️ Comparing Common GPU Thermal Pad Thicknesses: 0.5mm, 1mm, 1.5mm, 2mm
Typical GPU gaps range from 0.5 to 2 mm. Each thickness performs differently depending on chip height, cooler design, and pad softness.
Below is a simple comparison chart of expected temperature performance when the gap is about 1.2 mm and each pad is tested under load.
1. 0.5 mm Pads
Use 0.5 mm only when the gap is very small and surfaces are nearly level. On larger gaps, it cannot compress enough to remove air pockets.
- Best for tight factory-calibrated gaps
- Often used around GPU core frame or small VRMs
- Risk of poor contact if heatsink tolerances vary
2. 1.0 mm Pads
1.0 mm is a common “safe” choice for many GPUs when the measured gap is close to 1.0–1.2 mm and the pad is soft enough.
- Good for many GDDR6/GDDR6X memory layouts
- Low risk of bending the PCB
- Works well with mid‑range thermal conductivity pads
3. 1.5 mm Pads
Choose 1.5 mm when your gap is a bit larger or you want gentle over-compression to ensure contact across slightly uneven chips.
| Benefit | Detail |
|---|---|
| Better coverage | Bridges small height differences easily |
| Flexibility | Useful for backplate and front cooler gaps |
| Safety | Still less likely to warp the PCB than 2 mm |
4. 2.0 mm Pads
Use 2.0 mm pads only when you clearly measure a large gap or for backplates where the risk of PCB bending is lower.
- Ideal on loose-fitting backplates or tall components
- Pick soft pads with higher W/m·K to offset thickness
- Do not force the cooler if screws feel unusually tight
🧊 How to Measure the Gap Between Heatsink and Memory Chips
Correct gap measurement is the best way to choose thermal pad thickness and avoid guesswork that may harm your GPU.
You can use feeler gauges, soft clay, or test pads to estimate the distance between memory chips, VRMs, and the cooler surface.
1. Using Feeler Gauges or Calipers
Feeler gauges slide between the cooler and PCB edges to give an approximate gap reading. Digital calipers help when the design is open.
- Remove power and discharge the card
- Measure at several points around VRAM and VRMs
- Average the readings for your final pad choice
2. Soft Clay or Tape “Imprint” Method
Place a thin layer of non-conductive clay or stacked tape on chips, close the heatsink, then reopen to check compression depth.
| Step | Description |
|---|---|
| Apply | Put a small, even blob on top of one chip |
| Close | Gently screw heatsink down in cross pattern |
| Measure | Measure the squashed height to estimate gap |
3. Test-Fit With Sacrificial Pads
Use low-cost pads first to test thickness. After a short run, remove them and inspect compression marks before installing premium pads.
- Look for full-surface contact patterns
- Avoid pads that are barely touched or fully crushed
- Adjust by 0.5 mm steps if needed
🛠️ Installation Tips: Ensuring Even Contact Without Bending the GPU PCB
Good installation protects your GPU from stress while improving cooling on memory and VRM components.
Work slowly, tighten in stages, and always watch the PCB from the side to ensure it stays flat during assembly.
1. Clean Surfaces and Dry Fit First
Remove old pads and residue before you install new ones. A clean, flat surface improves both contact and long-term stability.
- Use isopropyl alcohol and lint-free wipes
- Check for leftover factory pad bits
- Dry fit the cooler without pads to understand alignment
2. Tighten Screws in a Cross Pattern
When you reassemble, tighten screws diagonally in small steps so pressure spreads evenly across the GPU and memory area.
| Pass | Action |
|---|---|
| First | Seat all screws lightly, just until they touch |
| Second | Give each screw 1–2 turns in cross order |
| Final | Snug each screw; do not over‑torque |
3. Check PCB and Backplate for Flex
After tightening, inspect from the side. If the PCB bows, your pads are likely too thick or too hard and should be replaced.
- Look along the PCB edge for any curve
- Feel for extra resistance when doing the last turns
- Reopen if you see warping and step down thickness
🌱 Recommended Safe Choice: SpringGrass Soft Thermal Pads for Most GPU Setups
Soft, high-quality thermal pads give strong performance with lower mechanical stress on your graphics card.
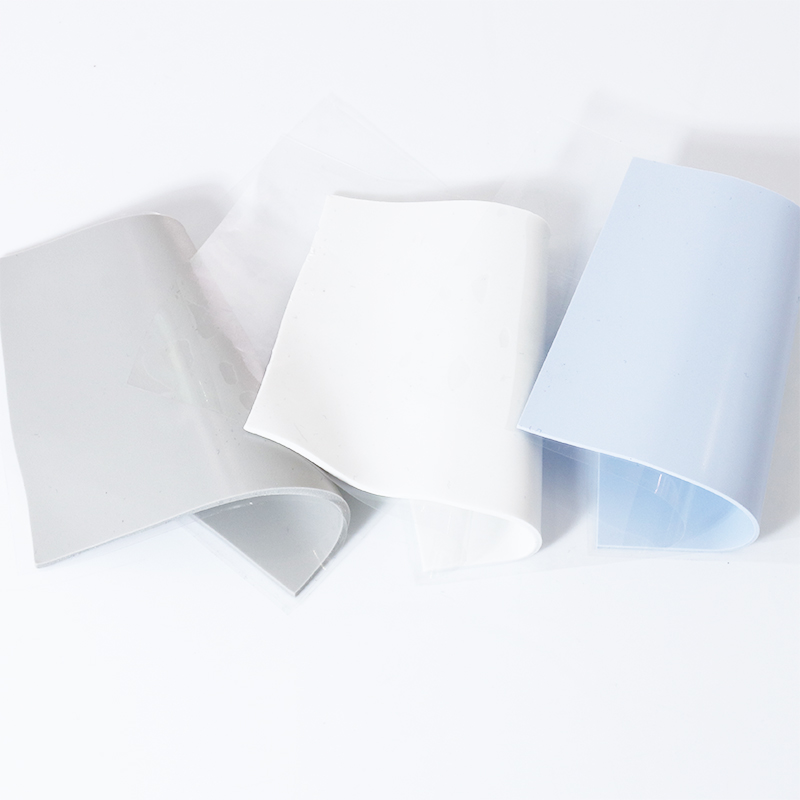
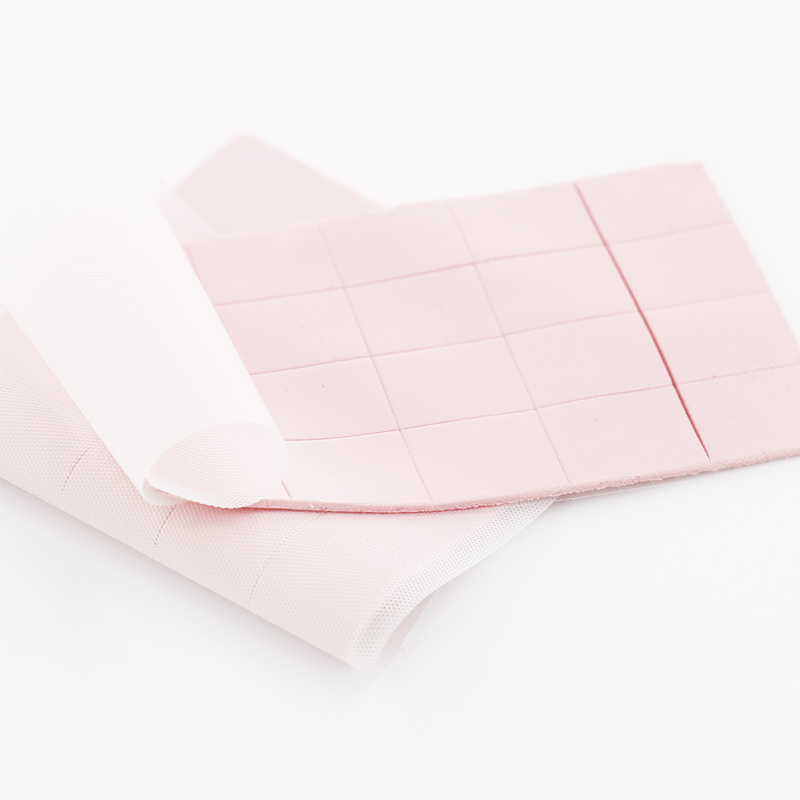
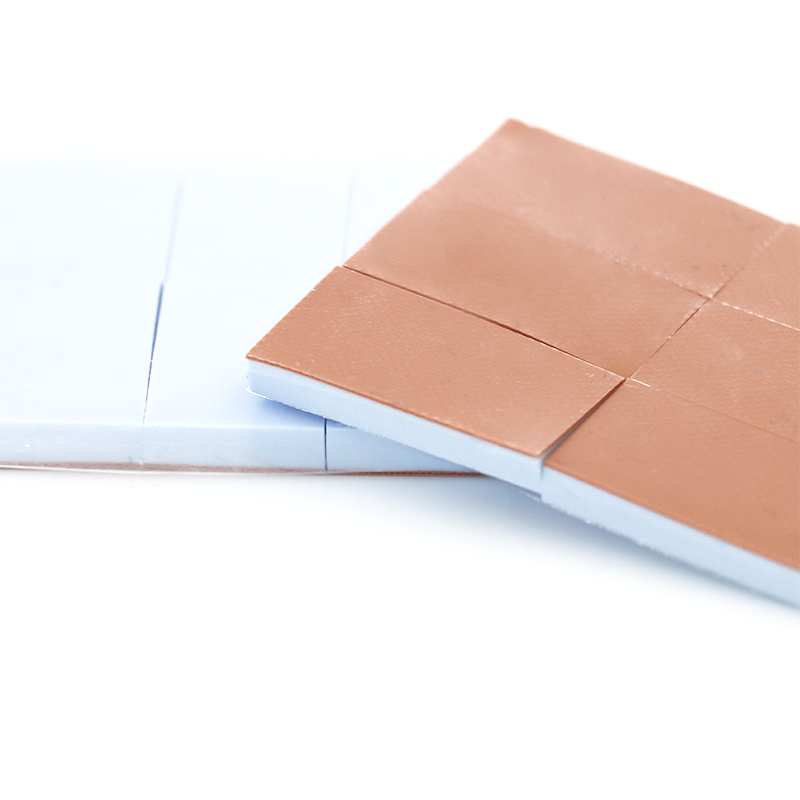
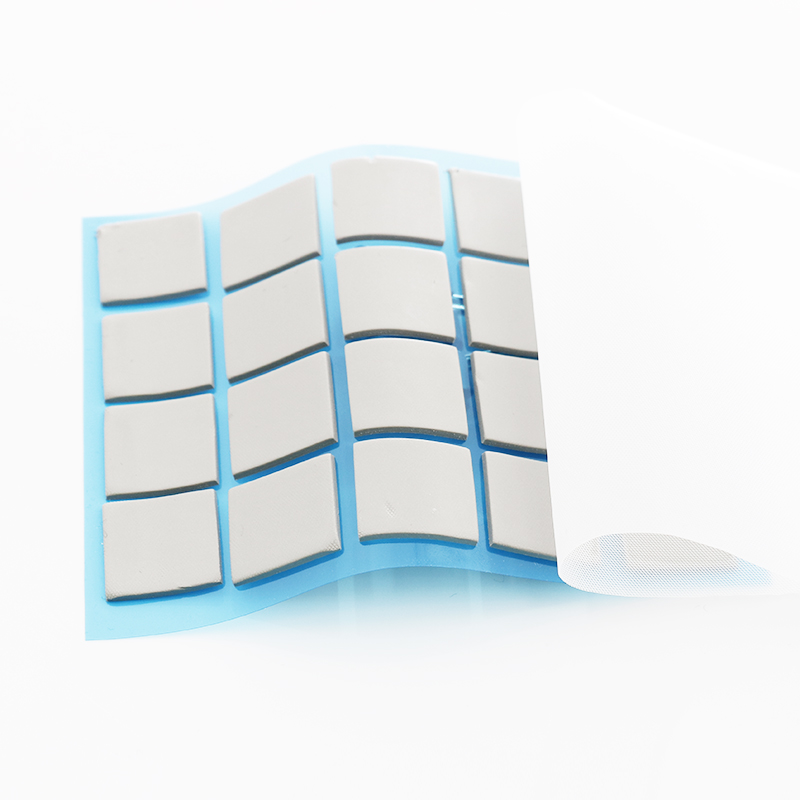
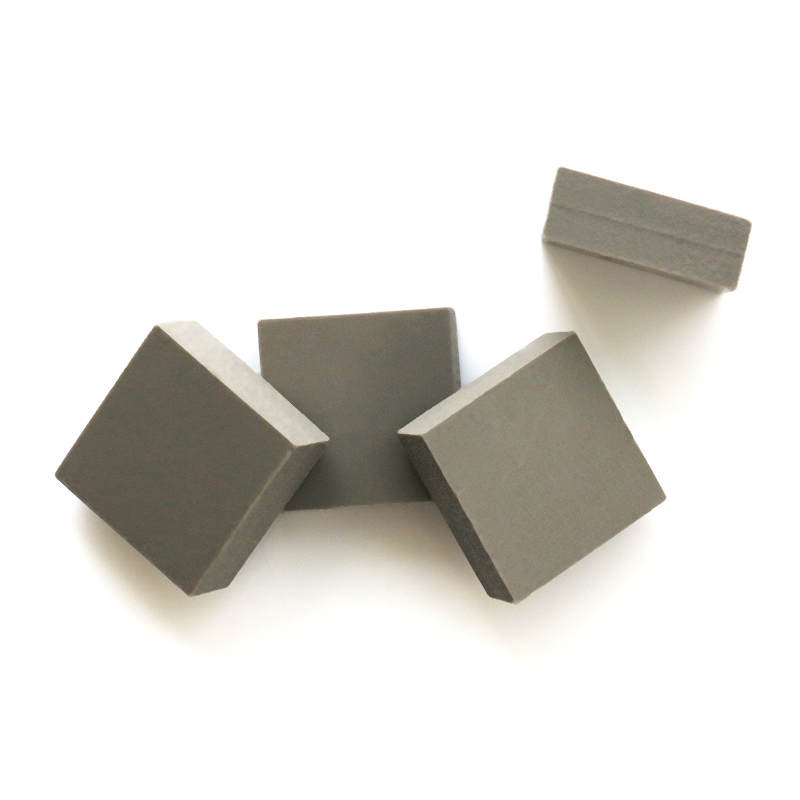
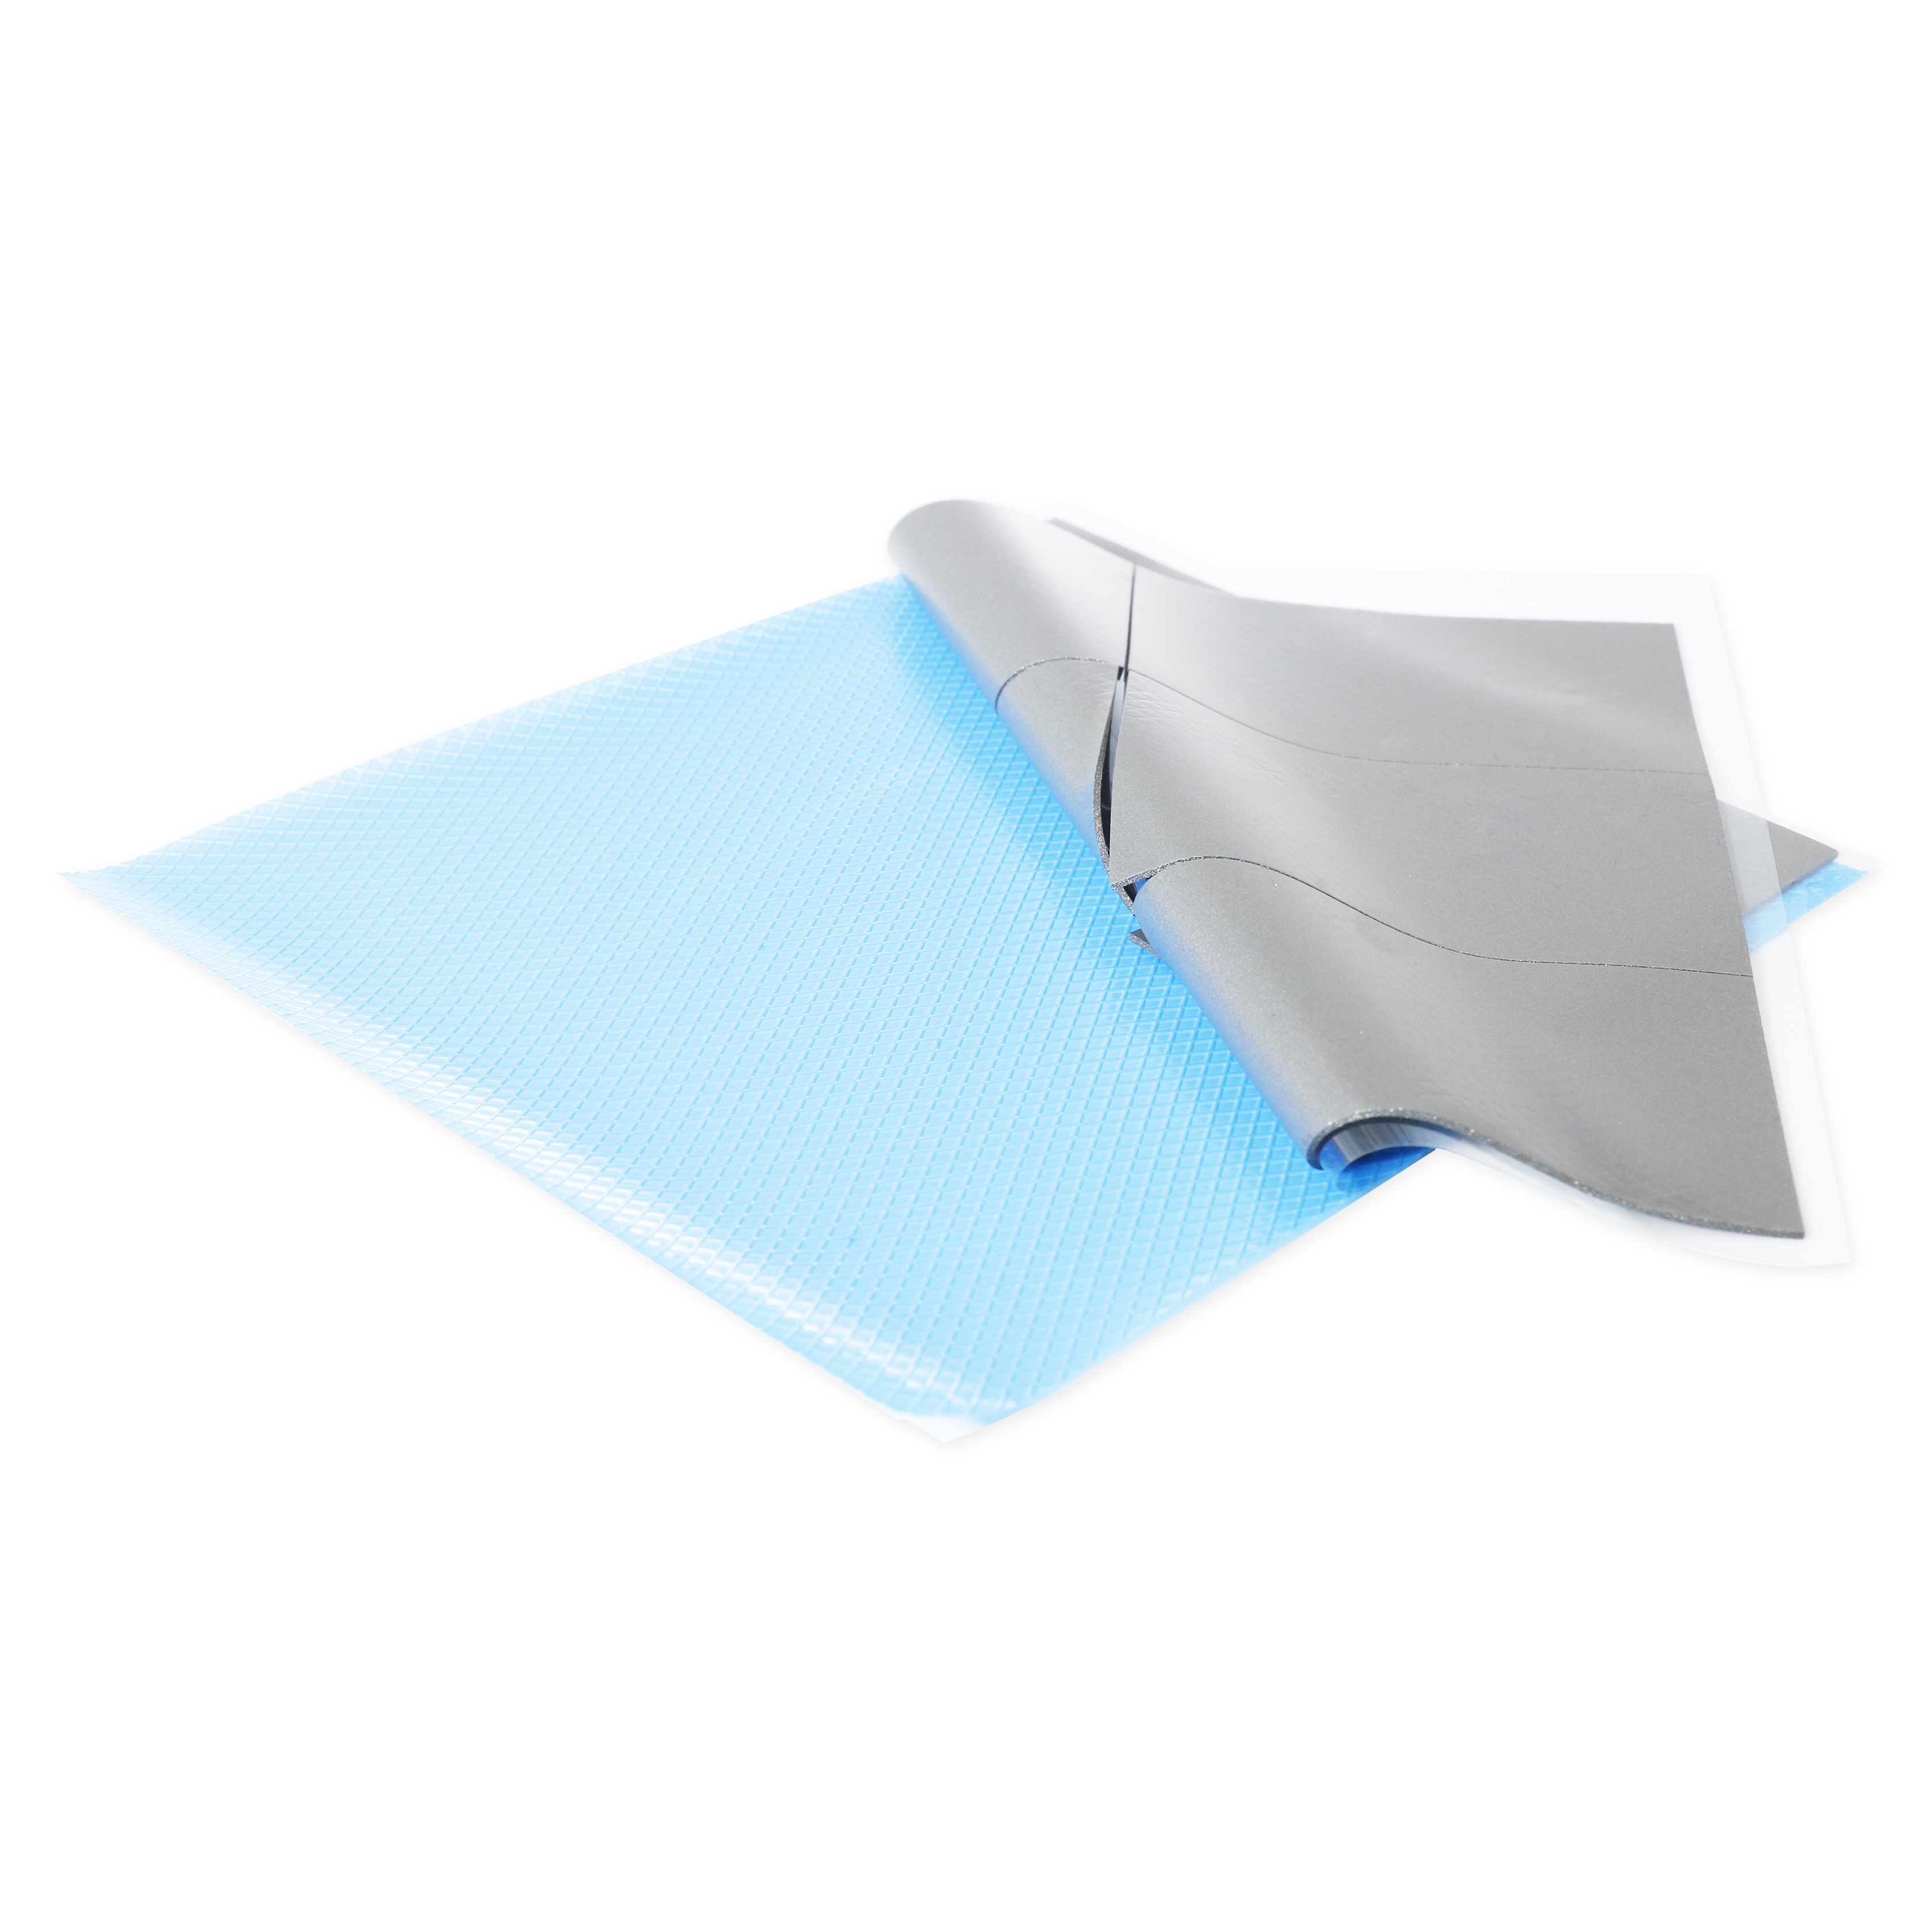
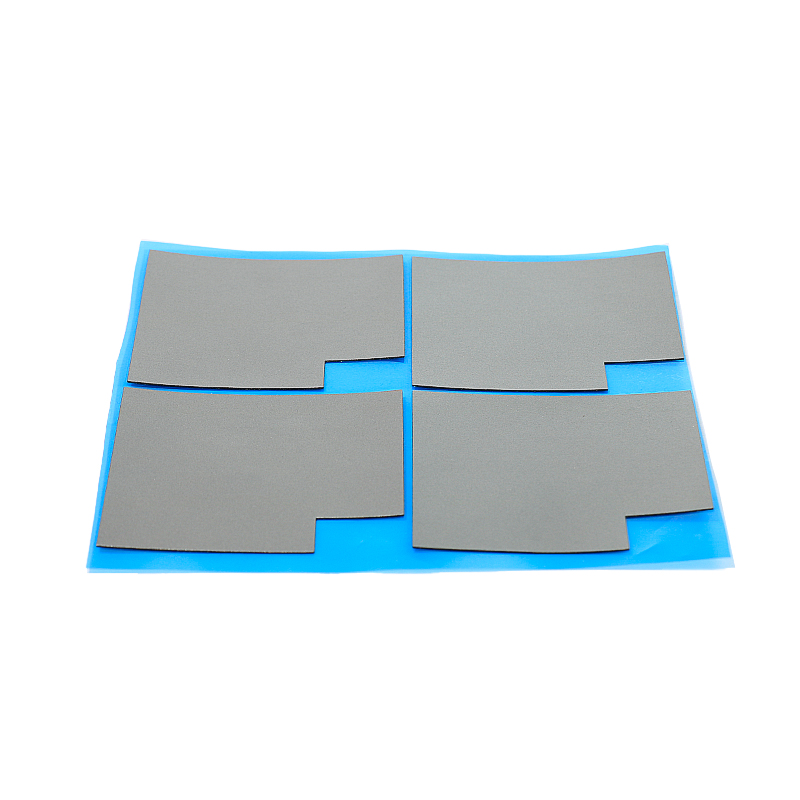
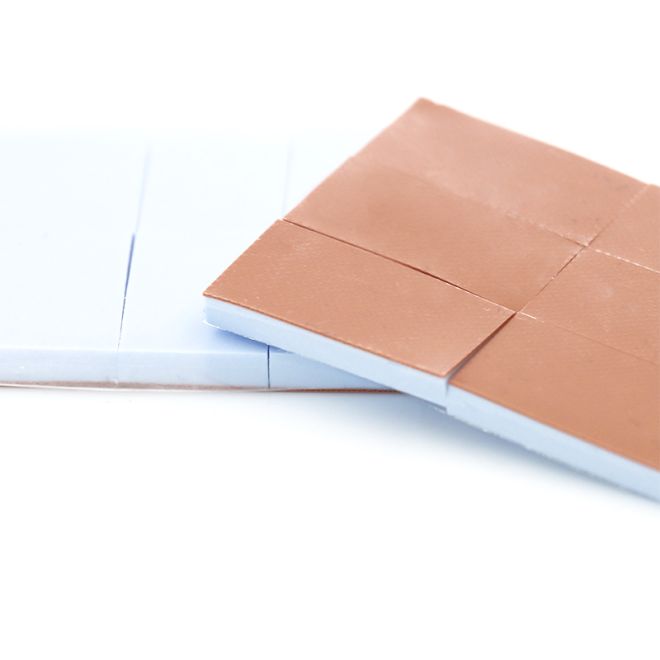
SpringGrass pads combine good thermal conductivity, softness, and electrical insulation, making them suitable for memory, VRM, and backplate use.
1. Balanced Option for Many GPUs
The 5W/mk High Dielectric Thermal Pad HRTP-M16-T050NH Series offers a strong mix of cooling performance, electrical safety, and compressibility for common 1.0–1.5 mm GPU applications.
- Ideal for GDDR6 and VRM zones
- High dielectric strength for extra protection
- Good for daily gaming and workstation loads
2. Cost-Effective Cooling for Moderate Loads
The 3W/mk Thermal Pad HRTP-M16-T030 Series suits budget or low‑to‑mid power GPUs where you still want safe gaps and better temps than stock pads.
| Use Case | Reason |
|---|---|
| Entry GPUs | Enough W/m·K for lower heat output |
| Backplates | Improves mild VRAM and memory cooling |
| Office / media PCs | Stable temps with low cost |
3. High-Performance Choice for Hot VRAM
For high-end gaming or mining cards with very hot memory, the 8W/mk Thermal Pad HRTP-M16-T080 Series delivers stronger heat transfer, especially at 1.0–2.0 mm thicknesses.
- Great for GDDR6X and overclocked VRAM
- Offset thermal resistance of thicker pads
- Best when you already measured gap accurately
Conclusion
The best soft thermal pad thickness for GPUs depends on real gap size, not just guesses. Measure carefully, then choose 0.5–2.0 mm pads that compress without bending the PCB.
Match thickness with suitable thermal conductivity and softness. With correct installation and quality pads, you can cut VRAM temps, reduce throttling, and extend GPU lifespan.
Frequently Asked Questions about soft thermal pad
1. Can I stack multiple thermal pads to reach the right thickness?
You can, but it is not ideal. Stacked pads add extra interfaces, which increase thermal resistance. Use a single pad of the correct thickness whenever possible.
2. Is higher W/m·K always better for GPU thermal pads?
Higher W/m·K helps, especially for thick pads, but softness and fit matter just as much. A well-fitted 5 W/m·K pad can beat a poorly fitted 8 W/m·K pad.
3. How often should I replace GPU thermal pads?
For most users, replacing pads every 3–5 years is enough. Replace sooner if you see high VRAM temps, dried or cracked pads, or after heavy mining use.





 Privacy settings